Natural Stone | Installation
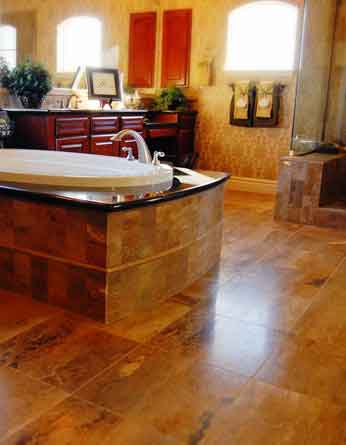
Use a professional
- this type of floor is heavy, difficult work
- it’s labor intensive and extremely exacting
- not for the do-it-yourselfer
- installing stone flooring is a skill that is developed through years of experience
Process
- prepare the substrate
- cement subfloors can apply the mortar directly to it to lay the tile
- wood subfloors require a CBU (cement backer unit)
- movement in the substrate material can sometimes occur
- for example, water penetrating the grout and/or freezing and thawing temperatures can sometimes cause tile to rise, crack or chip
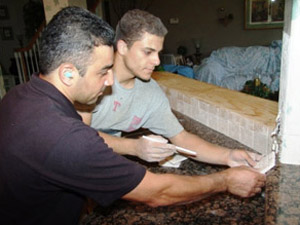
- area gets measured
- snap chalk lines for an accurate layout
- determine which pieces of tile will need to be cut to fit the area
- tiles that need to be cut are measured and marked with a pencil
- then use a wet saw with a diamond blade to cut through
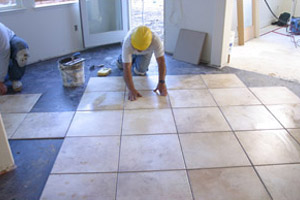
- begin setting the tile
- thinset mortar, which is a cement-based adhesive, is applied to the surface with a trowel
- tile then placed into the thinset and pressed firmly into place
- imperfections in your subfloor will require differing amounts of mortar to be applied
- this installation, known as a medium bed installation, is more time consuming and costly
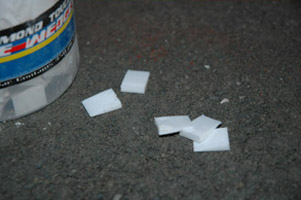
Grout, wedge or butter
- depending on the type of tile, may be installed with narrow grout joints
- larger area - wedges or spacers may be used to maintain consistent spacing
- installers may also back butter the back of the tile with thinset mortar to strengthen the bond
Grout
- after tiles are set and the thinset mortar has fully cured, joints are filled with grout
- sanded and un-sanded grouts are used
- type of grout used is determined by the tile, grout joint and width
- mixture is spread over the tiled area to fill in all the joints
- sponge is used to remove excess grout from the surface of the tile
Before installation day
- relocate furniture
- empty china cabinets and closets
- consider removal and disposal of old floorcovering
- remove it yourself and leave 1 day before install
- moldings and baseboards need to be removed for stone installation
- installers not responsible for damage or breakage due to dry or brittle wood
- painted baseboards, woodwork and paint may need retouching (this is your responsibility)
- existing sub floor may need to be prepared to receive the stone
Door plan
- possibility that doors may not clear the new floor and swing free
- installers may remove doors and rehang for an additional cost.
- for clearance issues, arrange for a qualified carpenter to shave or cut down
Clean-up
- waste will be produced
- waste collected and disposed of by installers at an additional cost
Installation day
- be home and available
- be prepared for questions
- presence insures the right wood is installed in the right areas
- exact time of arrival cannot be guaranteed, only a time frame
Safety
- installers use tools and techniques that can be hazardous
- make sure that children and pets are out of the work area
- follow through with a walk-through
- prior to completion walk through to ask questions and be clear on any final details
After installation day
- establish good ventilation for 48 to 72 hours
- be prepared